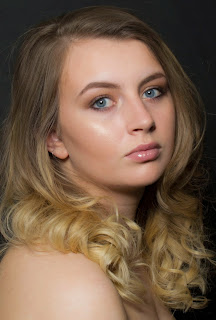
Here are some on the original images of the photo shoots for my look and the images after I'd edited them. For the majority of the looks, the techniques I used in photoshop included cropping, adjusting the exposure and then erasing imperfections.
Above is the original high summer look and below, the edited version. I cropped out the background to make my model's hair and face the focus of the image. I cleaned up the skin a little and also filled in her eyebrow.


The images from my skincare shoot required the most editing. First of all I adjusted the exposure levels to make the image brighter and altered the colours to make my model look less orange. I then cropped the image so her top wasn't visible and started to perfect the skin using the spot removal tool.
This spring/summer shoot required the least amount of retouching. I was really happy with the lighting in the shoot so I just used photoshop to crop the image slightly and erase the dark circles under my model's eyes.


No comments:
Post a Comment